This build converted an external monitor to a wireless kinetic gimbal controller using: two Arduino Pro Minis, two nRF24L01+ modules, a Sparkfun 9DOF IMU, and an AlexMos brushless gimbal.
Why?
I acquired a beat-up 3-axis BaseCam (AlexMos) camera stabilizer. Two days of rewiring, heat-shrink, and PID turning left me with this:
Stabilizer stabilizing.
... a fully functional inexpensive Freefly MōVI alternative I'd been longing for several years. Sexy camera moves have never been so easy!
I wish...
Turns out these stabilizers are great at stabilizing, and not much else. Frame your shot using the joystick or enabling "follow mode" where the gimbal loosely follows your movement. Try using either of these while rolling and the results are usually less than dismal. Good shots can be captured after a bit of practice and a handful of takes, but that's no good if you've got dialog/action. This may sound silly since every gimbal demo on YouTube makes it look easy, but this is why it's hard:
Clunky/inaccurate/unintuitive movement with the joystick.
Delayed inaccurate movement with "follow mode".
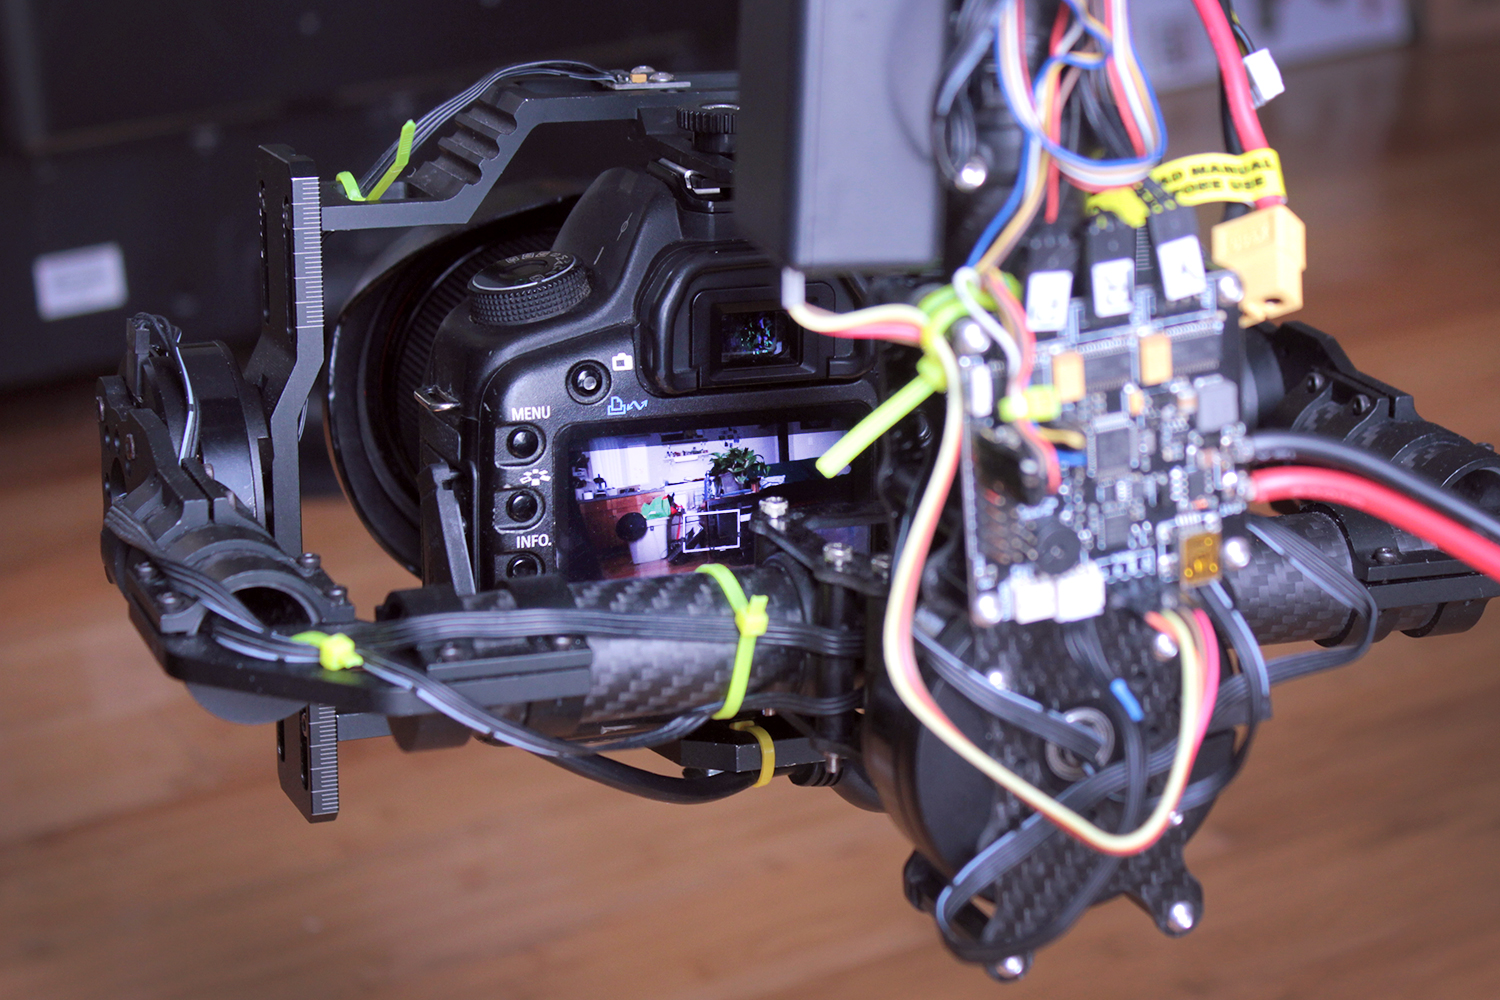
The camera's screen is obscured in most configurations.
An external monitor is disorienting, adds bulk/wires, and is useless at extreme angles.
Barely visible screen
Magic Monitor
What if a gimbal could mimic the moment of an external monitor? It would be an intuitive controller allowing a second operator to concentrate on framing! As of writing this post I've discovered Freefly has an upgrade for their MōVI which does this exactly and is aptly named MIMIC. However an equivalent Freefly MōVI MIMIC setup is ~$4.5k. I've already built an external monitor with handles and the BaseCam gimbal controller has an open API, so this build was relatively quick.
Laser cut external monitor.
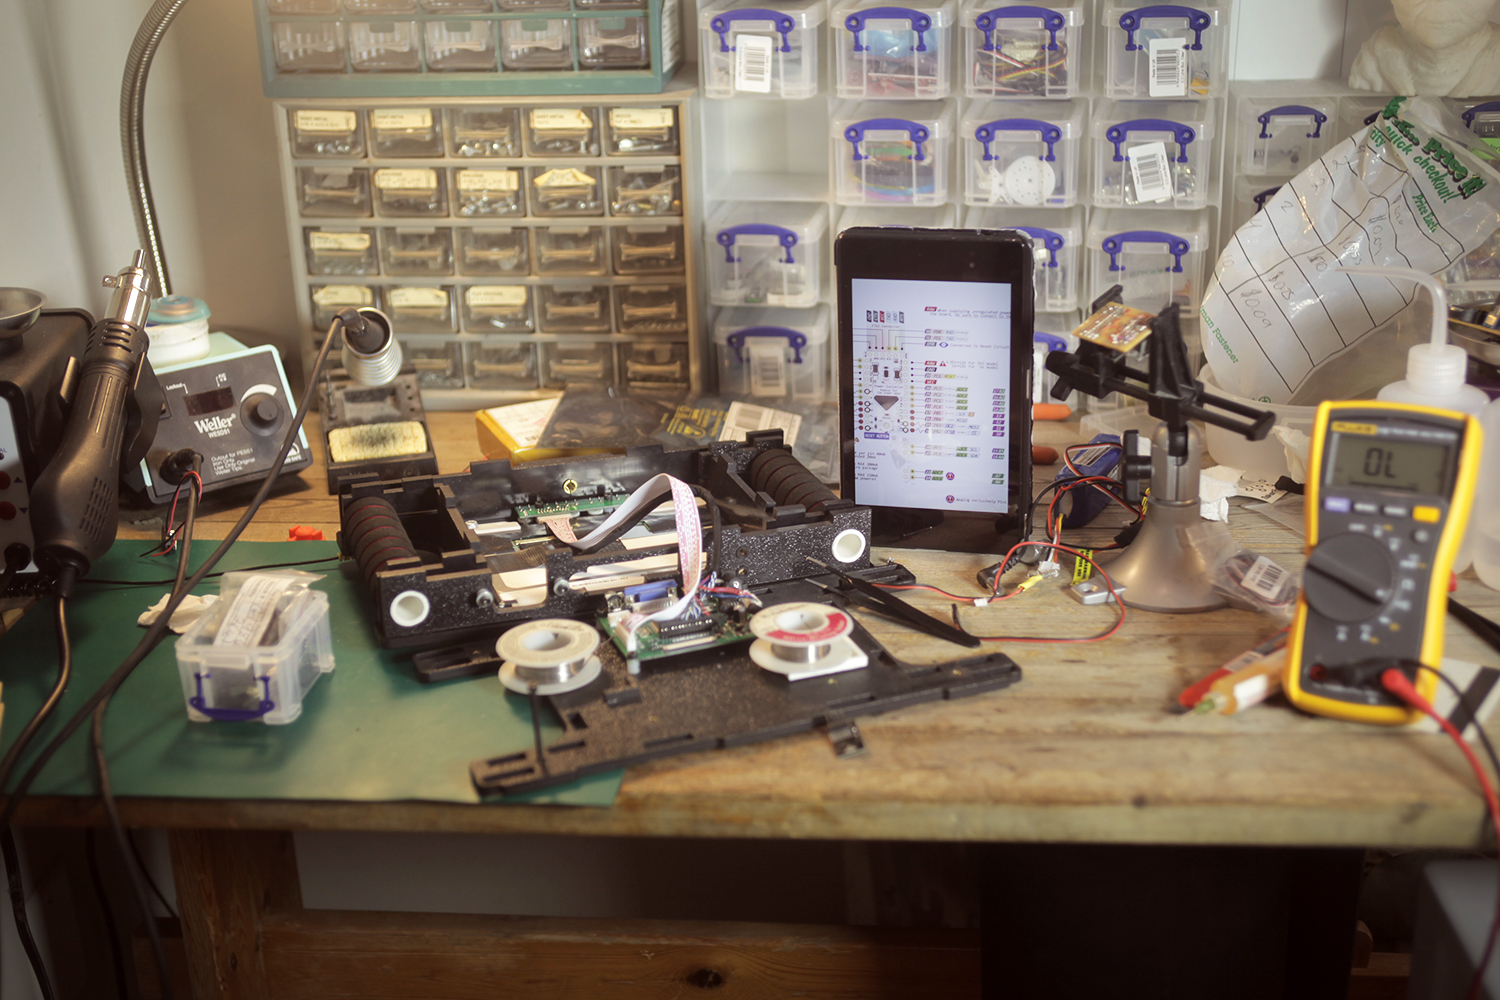
The monitor already has an Arduino Pro Mini it for remote triggering and low battery warning. First step was to pull this board out.
Disassembled monitor.
IR remote electronics.
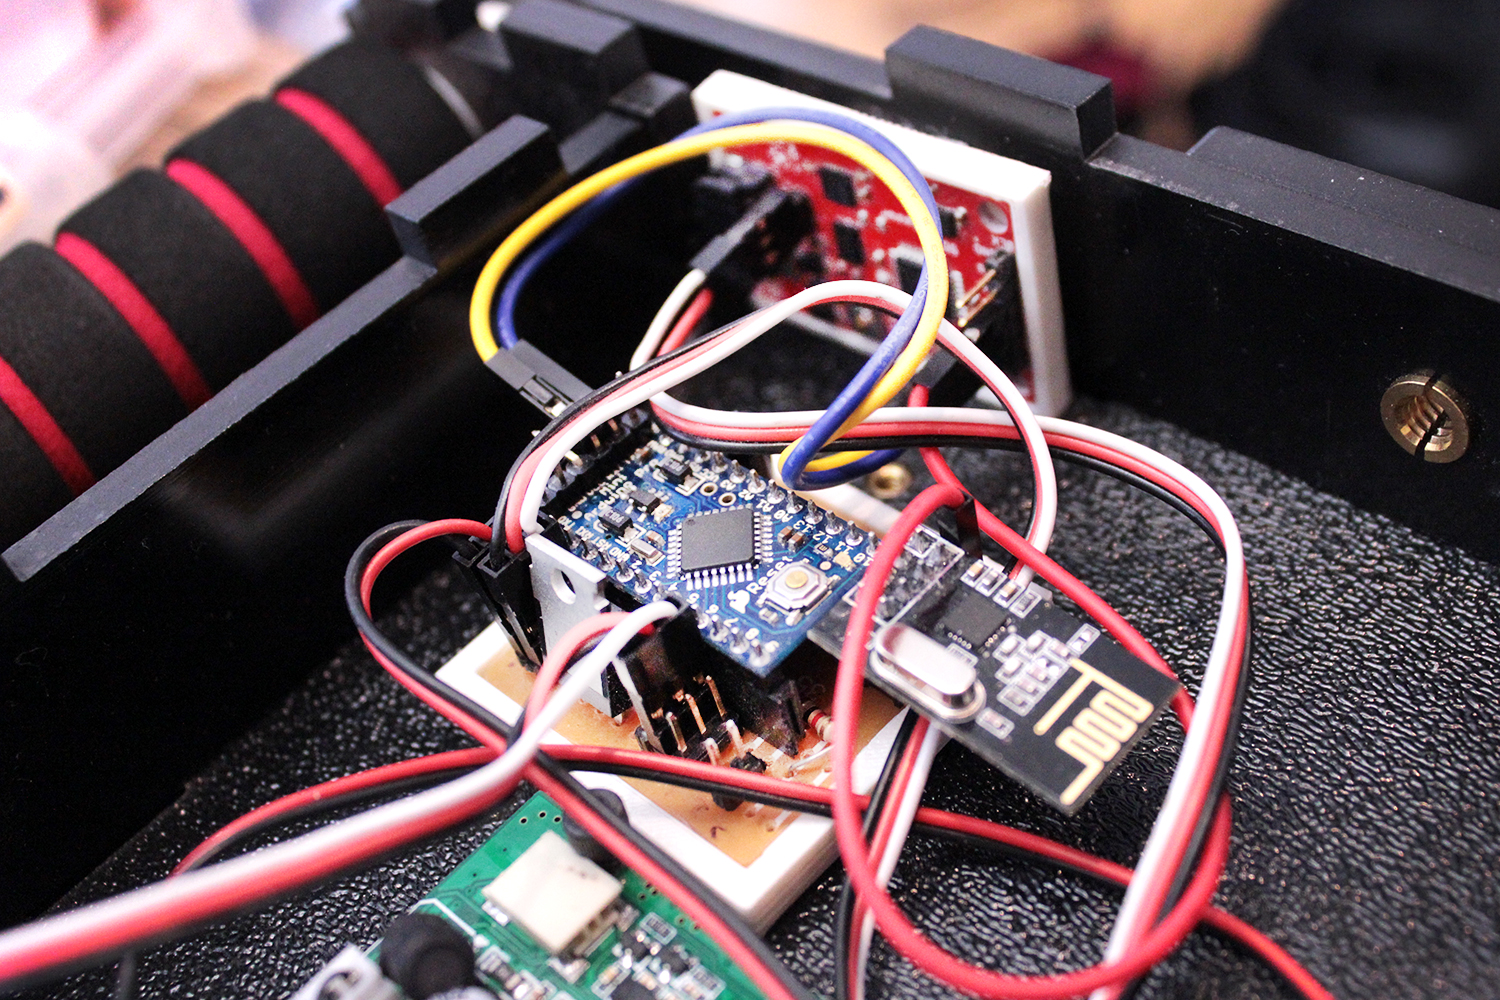
A nRF24L01+ 2.4GHz wireless module and Razor IMU (red circuit board) were added. The wireless module was mounted to the circuit board, and the IMU was mounted in a 3D printed base then Velcroed to the monitor.
Updated electronics.
Next the receiver for the gimbal was built. I cut the perfboard out to fit in a small project box.
Perfboard cutout
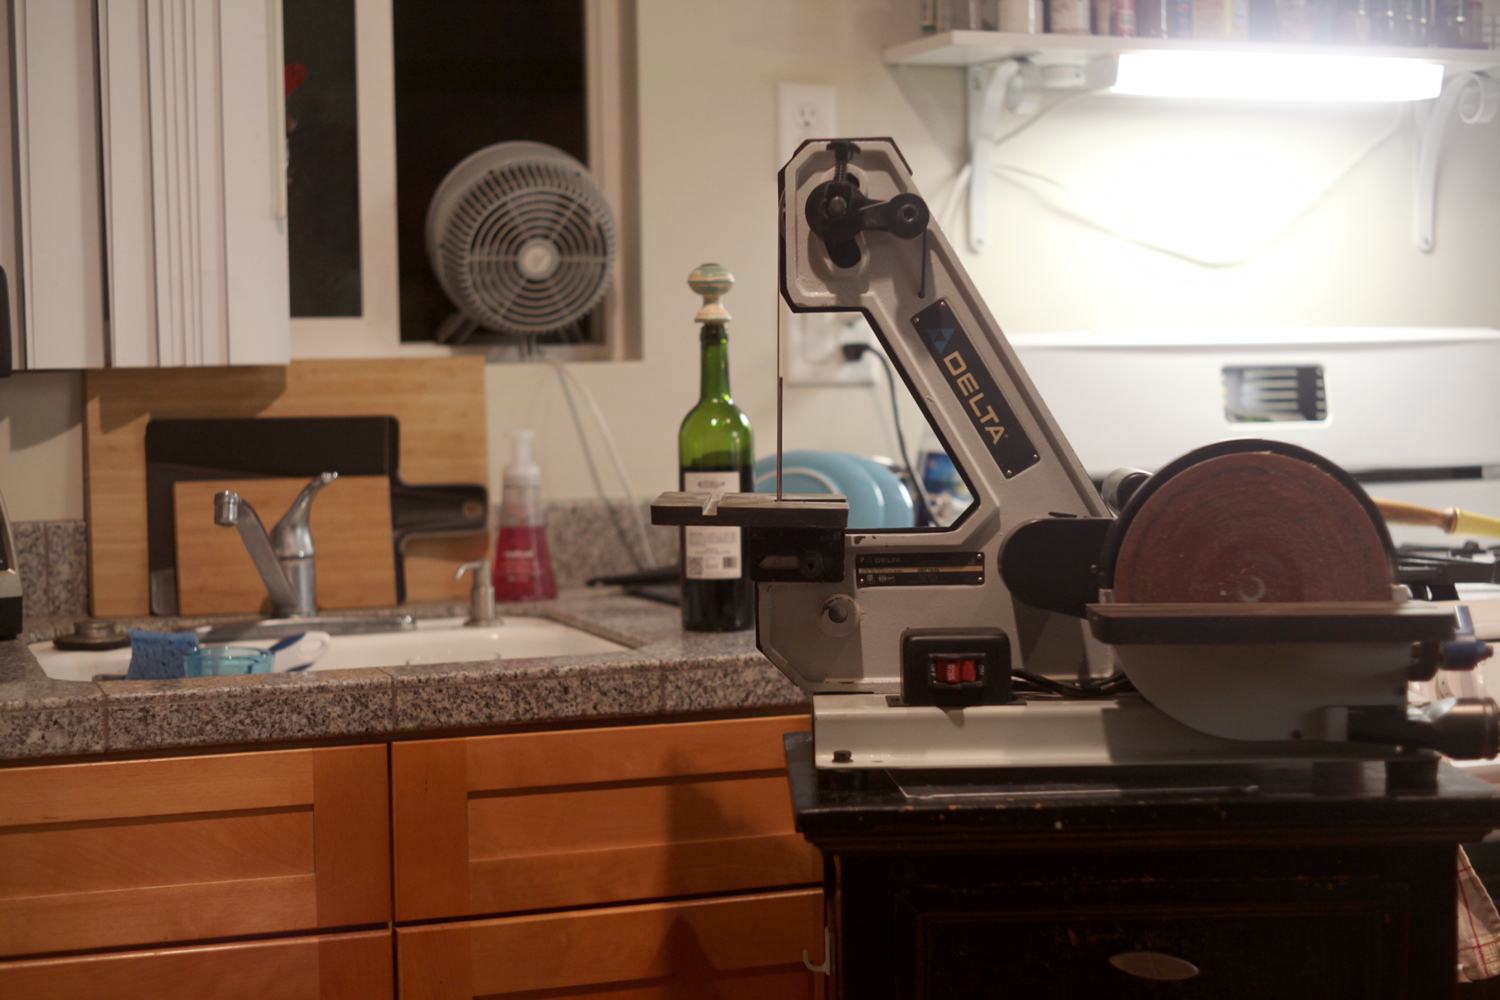
Get yelled at for sanding perfboard in the kitchen.
Don't do this.
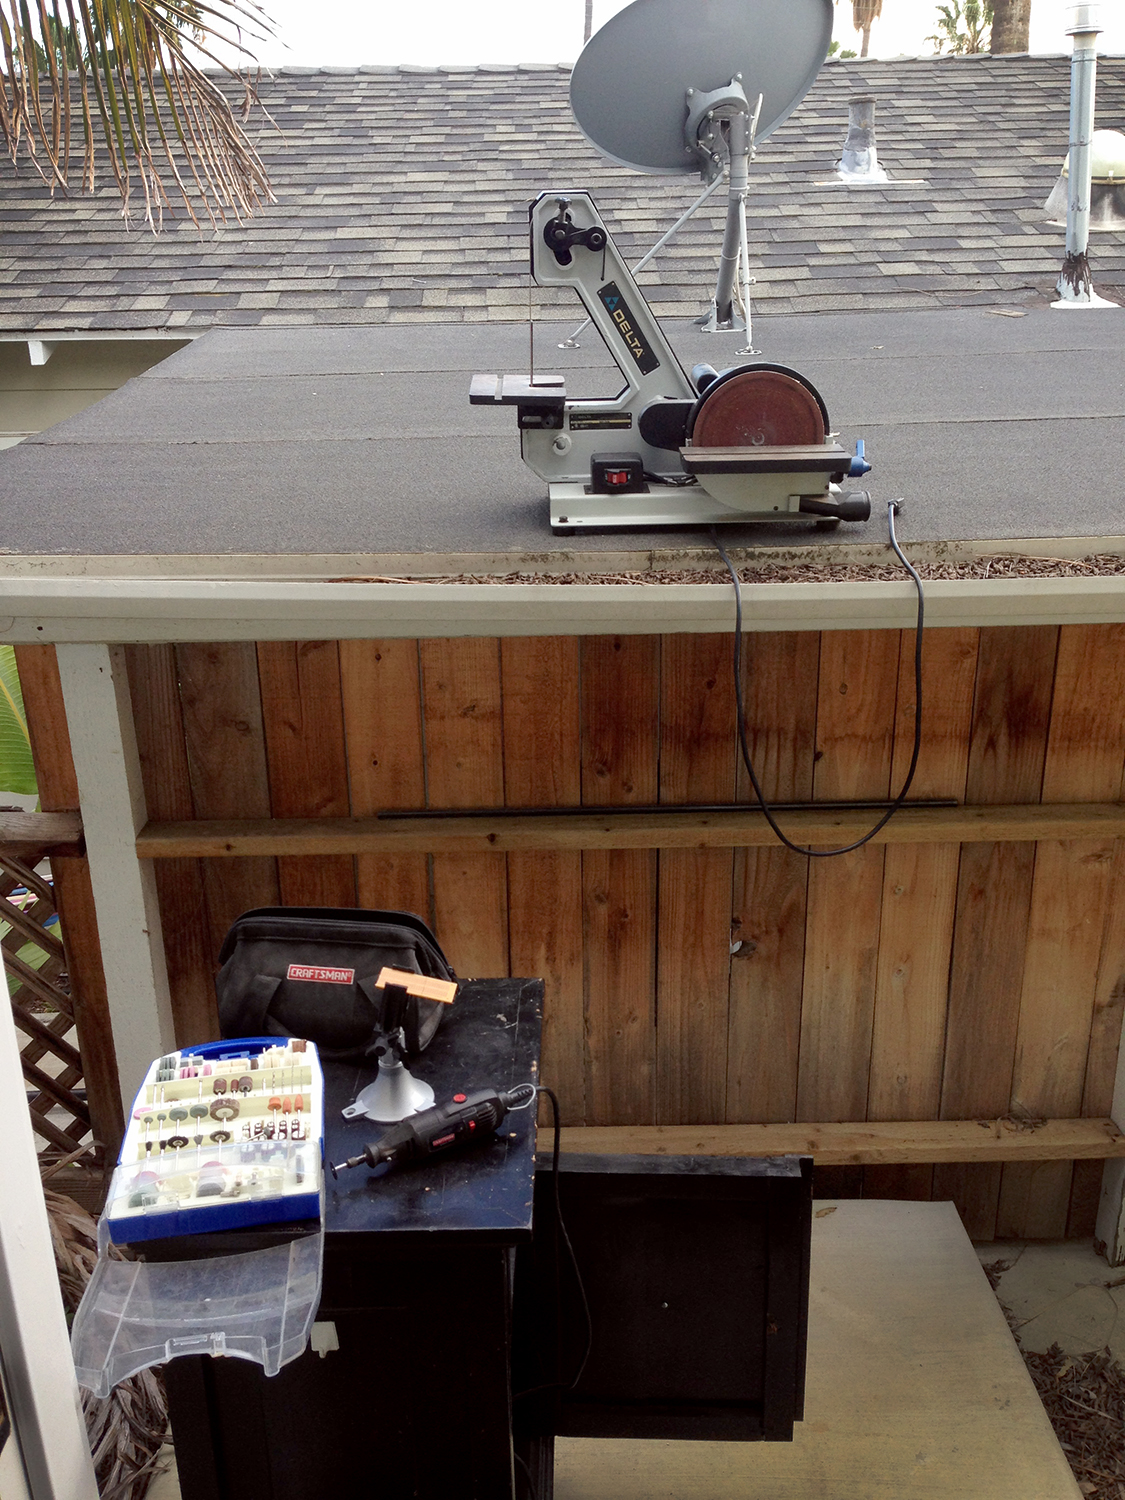
Turns out the kitchen of a small studio is also the living room, dining room and bedroom. So move the sander outside and borrow the neighbor's roof.
Do, do this.
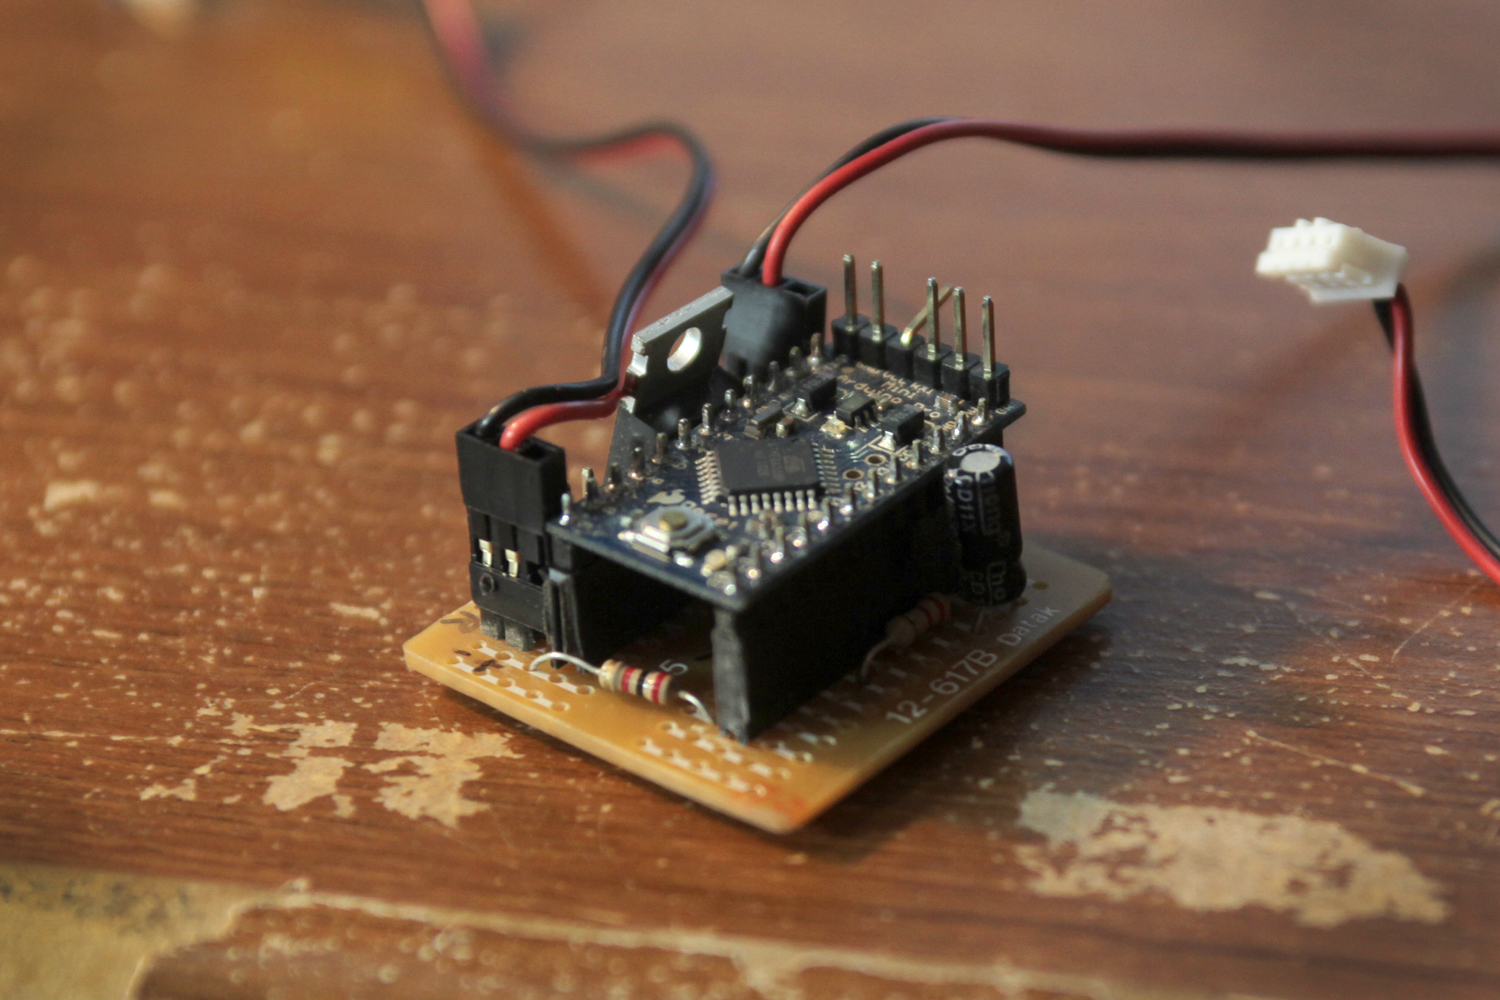
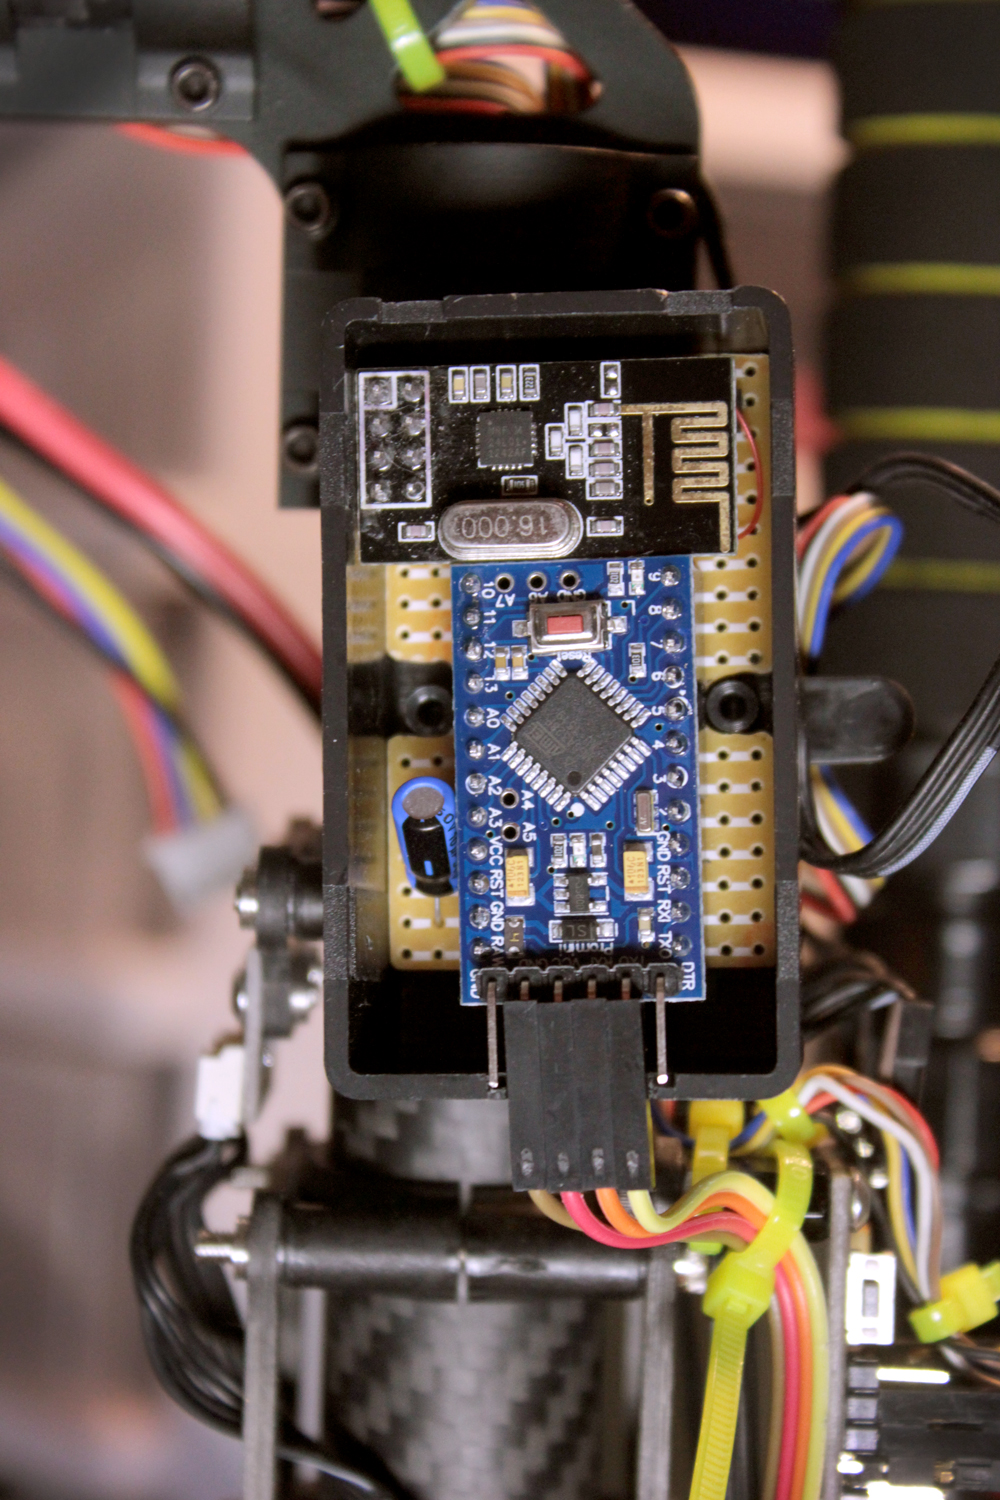
This is the finished receiver mounted to the gimbal in its project box. There is a 3.3v regulator hiding under the wireless module.
Gimbal receiver.
Data from the IMU on the monitor is read by an Arduino, then sent wirelessly via the nRF24L01+ 2.4GHz module. The second nRF24L01+ module receives this data and sends it to another Arduino over SPI. This second Arduino processes the data and then commands the AlexMos gimbal controller via it's serial API. This process happens every 20ms or 50 times per second.
The firmware was written in the Arduino IDE using the powerful RF24 and SBGC libraries for interfacing with the radio and gimbal controller.
Functionality
The gimbal moves one to one with the monitor in 3-axis: yaw, pitch, and roll. All movements are sent through a simple smoothing algorithm to squash shaky input. There is a button on the monitor which releases the gimbal from the monitor's control.
Gimbal release button
This allows you to reorient yourself in relation to the gimbal. When you release the button the gimbal locks back onto the monitor. This feature is limited to yaw only (pointing left and right). I enabled it for pitch and roll, but you quickly loose track of the camera's relationship to the horizon.
Testing
There were two issues during the first tests. First being the clumsiness of an HDMI cable between the camera and monitor; second the relatively short range of the wireless modules. I borrowed a cheap FPV transmitter/receiver setup to send analog video and forgo the HDMI cable, and replaced the original wireless modules with their amplified versions. I packaged everything up in little project boxes and special sticky zip-ties.
Video Transmitter
Video Receiver
Amplified nRF24L01+ Module
Everything was now working well, but not great. The wireless range for the data surpassed the wireless video feed (good), but the video cuts out randomly for a few seconds (bad). This makes it difficult for the camera operator who's already worrying about looking like a public weirdo spinning in circles staring at a small handheld screen. I think the video cutout issue is due to the cheap chinese FPV setup (surprise!). Lastly there is a weird horizontal oscillation of the gimbal while running (literally running with the gimbal). I hadn't ever tested running shots, but the behavior persisted without the external control inputs which means it's just a PID tuning issue of the gimbal itself.
Conclusion
The most difficult part of using this rig is communication between the gimbal operator and camera operator. Most of the subjects we filmed were unpredictable and uncooperative and dogs. The monitor operator has no peripheral vision of the shot, and has to predict movement based on the camera's narrow field of view. With practice this won't be an issue, but I was hoping for something more intuitive.
All other problems will be fixed sometime in the future. For now the whole system works great with slower moving shots.
For the most part, sorry for English. Great job, I have one with bluetooth and I'm trying one exactly the same as yours to put in a drone too, would you have how to make the code available? I thank the attention.
first very cooooool!!!!! :) project I have the idea to develop a similar project for a drone too, as my Bachelor thesis and for a little drone community (and for a company) in Cuba. If you can give me all the information that you want to share like code or schematics I would be very grateful to you. thanks and sorry for my English johnragnarsson1994@gmail.com


Very cool!!!
ReplyDeletePlease describe the wiring diagram Arduino Pro Minis, nRF24L01 and modules !!! Please!!!!!!!
Man, I would really love to build this.
ReplyDeleteFor the most part, sorry for English.
ReplyDeleteGreat job, I have one with bluetooth and I'm trying one exactly the same as yours to put in a drone too, would you have how to make the code available? I thank the attention.
first very cooooool!!!!! :) project
ReplyDeleteI have the idea to develop a similar project for a drone too, as my Bachelor thesis and for a little drone community (and for a company) in Cuba. If you can give me all the information that you want to share like code or schematics I would be very grateful to you. thanks and sorry for my English
johnragnarsson1994@gmail.com